
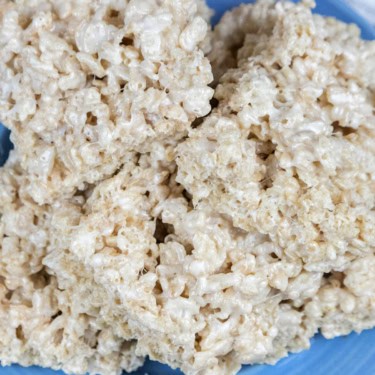
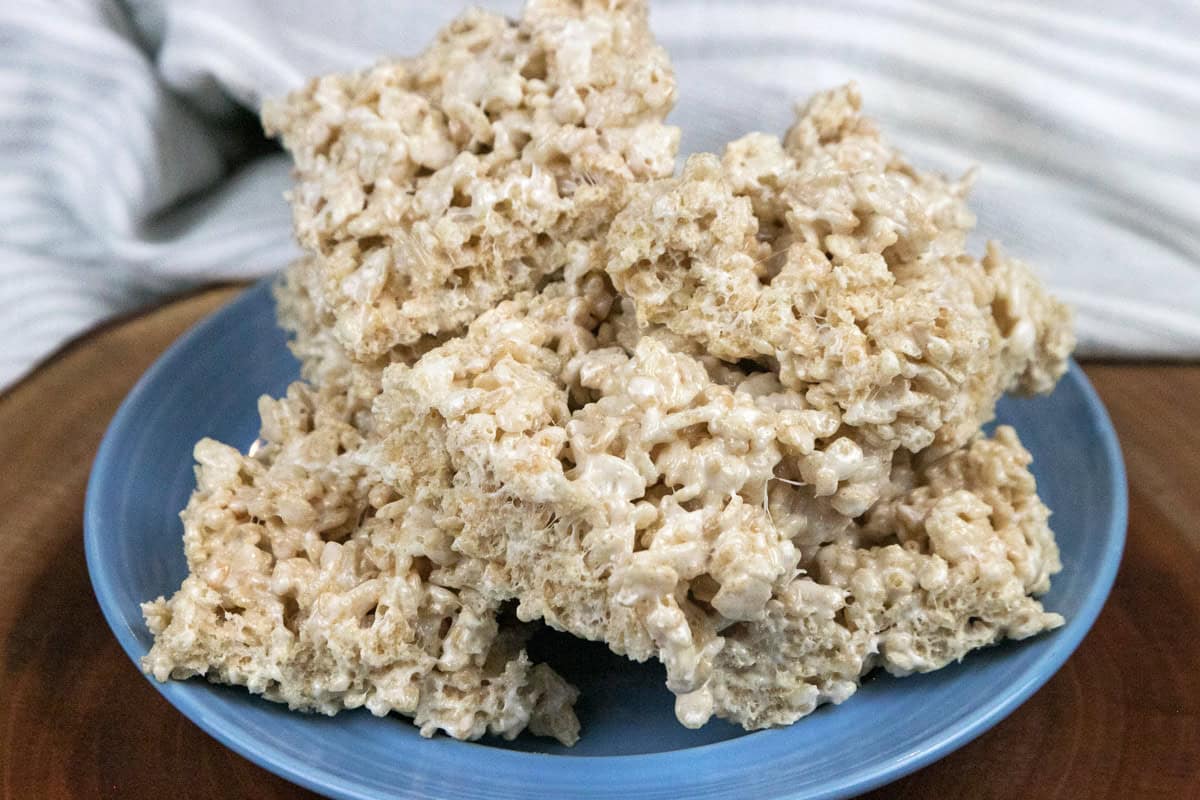
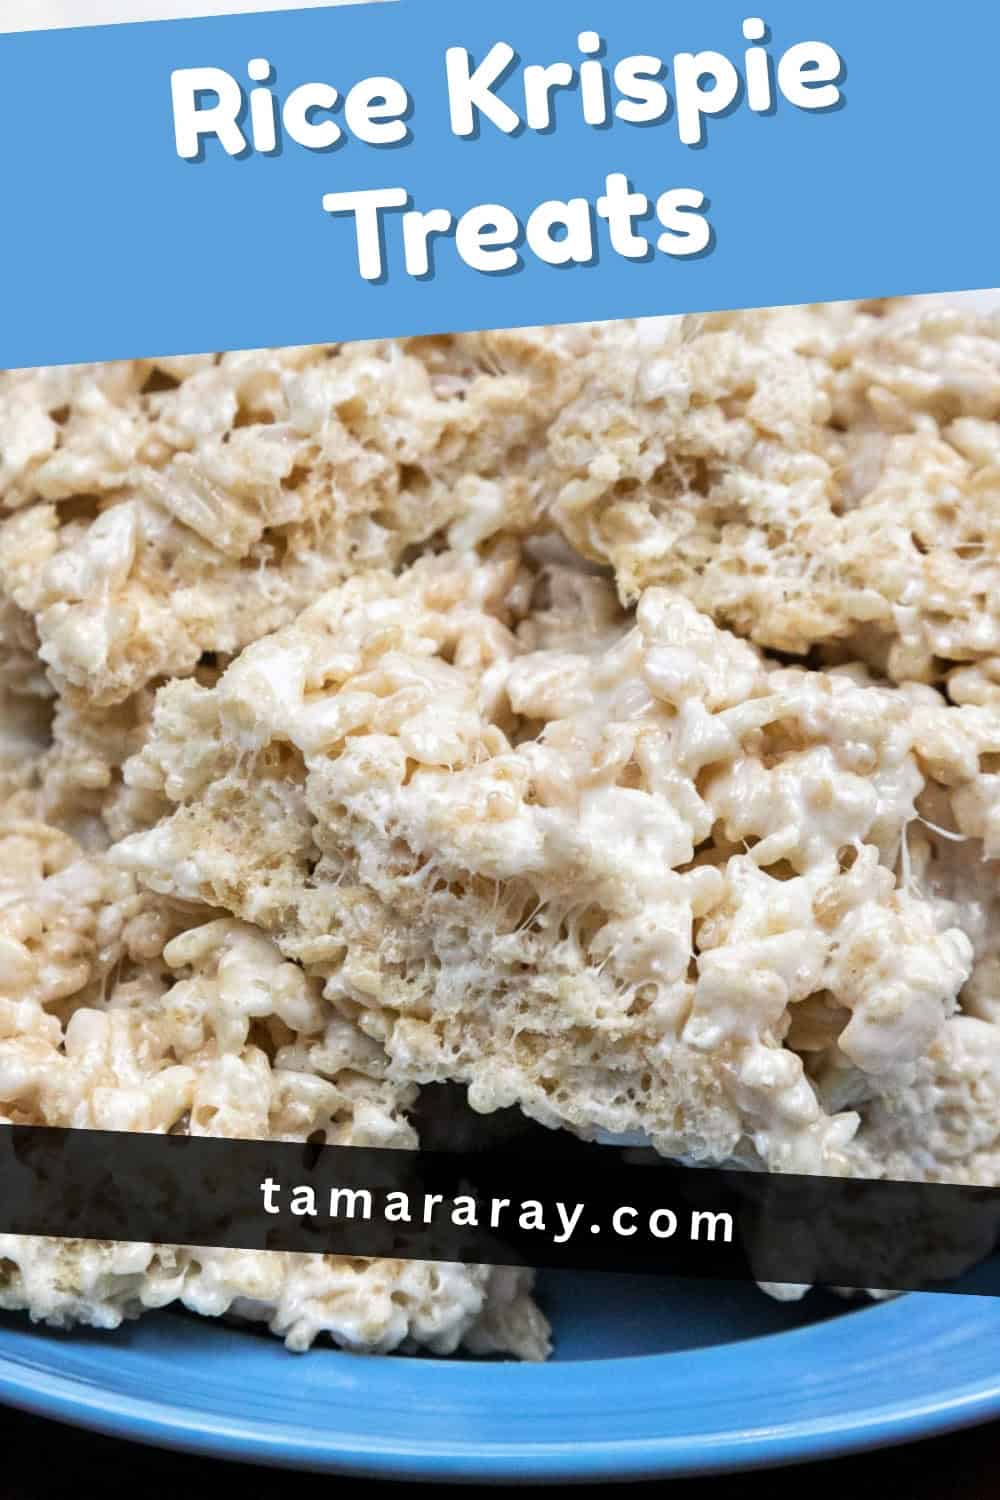
These homemade Rice Krispie treats are soft, gooey, and handcrafted for the perfect ratio of butter, chewy sweetness, and a satisfying crunch. Simple, nostalgic, and irresistible, these are just like the classic Rice Krispie treat you remember, only better because they are homemade!
Explore fun twists to the traditional Rice Krispie treats, such as these Cocoa Krispie Treats, for chocolate lovers like me! Additionally, get festive and into the Independence Day spirit with these Red, White, and Blue Rice Krispie Treats.
🥄Key Ingredients
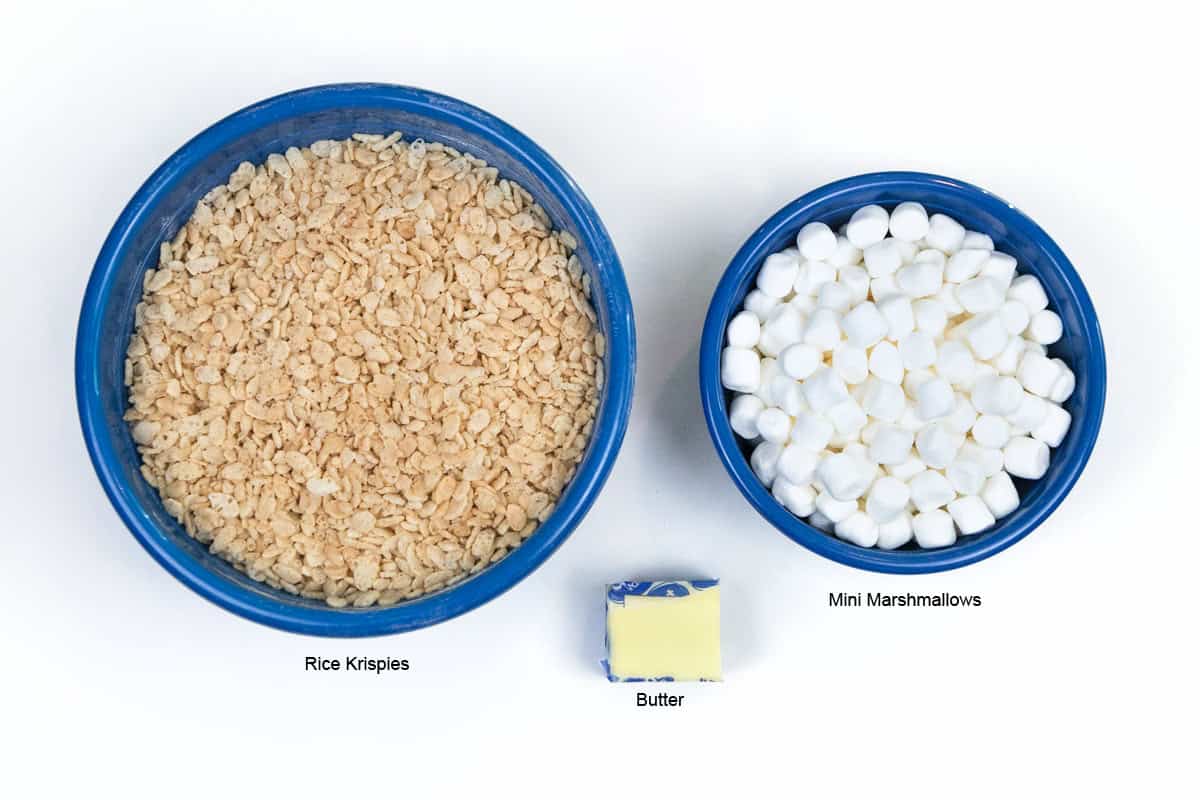
- 7 cups Rice Krispies® cereal
- 4 tablespoons of butter
- 16 ounces of mini marshmallows (1 bag)
👩🍳 How to Make Rice Krispie Treats
These step-by-step instructions are accompanied by detailed photos for enhanced clarity and guidance.
Step 1. Prepare the Baking Dish with Cooking Spray
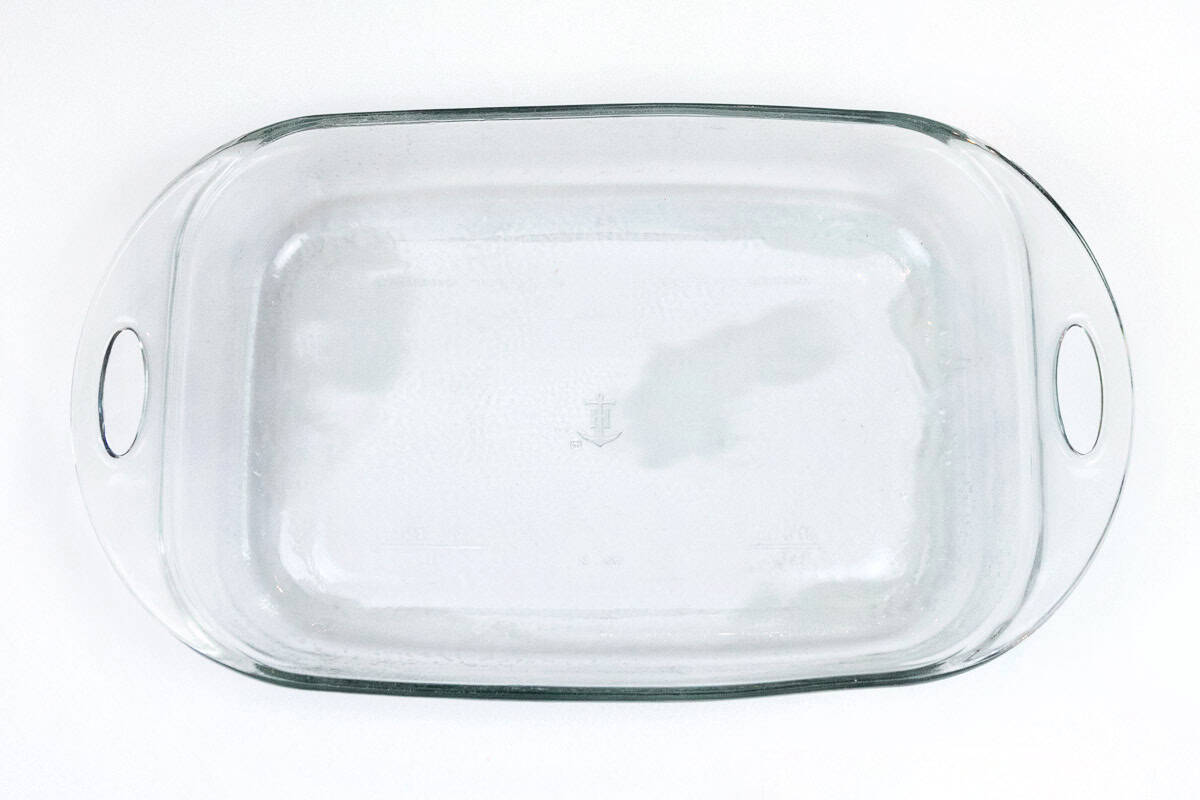
Start by lightly greasing a 9×13-inch baking dish or pan with non-stick cooking spray. Alternatively, you can line it with aluminum foil, parchment paper, wax paper, or coat it with a little butter—whichever you prefer. Set the prepared pan or dish aside while you make the treats.
Note: Although this recipe calls for a baking dish, these are actually no-bake treats! Any 9×13-inch pan you have on hand will work perfectly.
Step 2. Melt the Butter
Next, add 4 tablespoons of butter to a large saucepan. Melt the butter over medium-low heat, stirring occasionally, until it is almost completely melted.
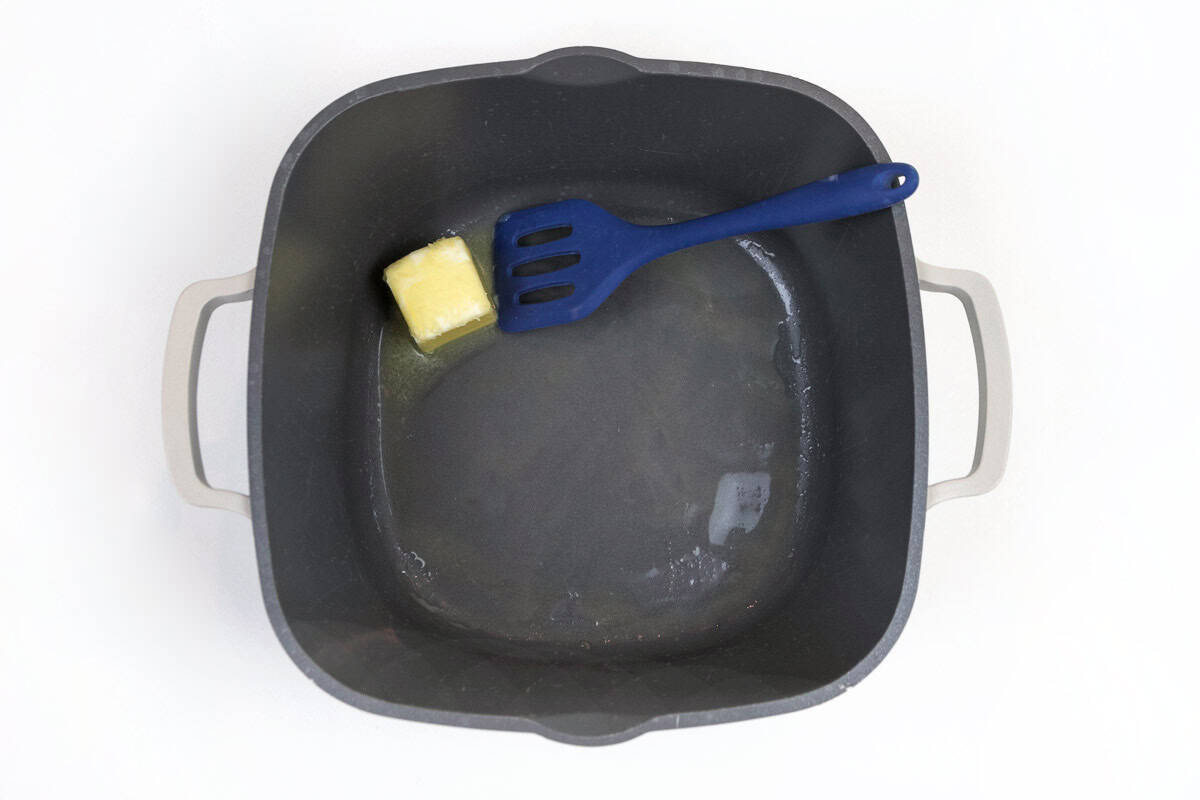
Step 3. Add the Marshmallows to the Butter
Keeping the heat on medium-low, add 16 ounces of mini marshmallows to the saucepan with the melted butter.
Note: Approximately 8 cups of mini marshmallows are equal to 16 ounces. Additionally, you can use regular-sized marshmallows instead of mini marshmallows—no problem! A 16-ounce bag contains roughly 64 marshmallows, which is about the amount needed for this recipe. The main difference is that mini marshmallows tend to melt a little faster, making mini marshmallows seem like the best way. But when it comes to flavor, they’re essentially the same.
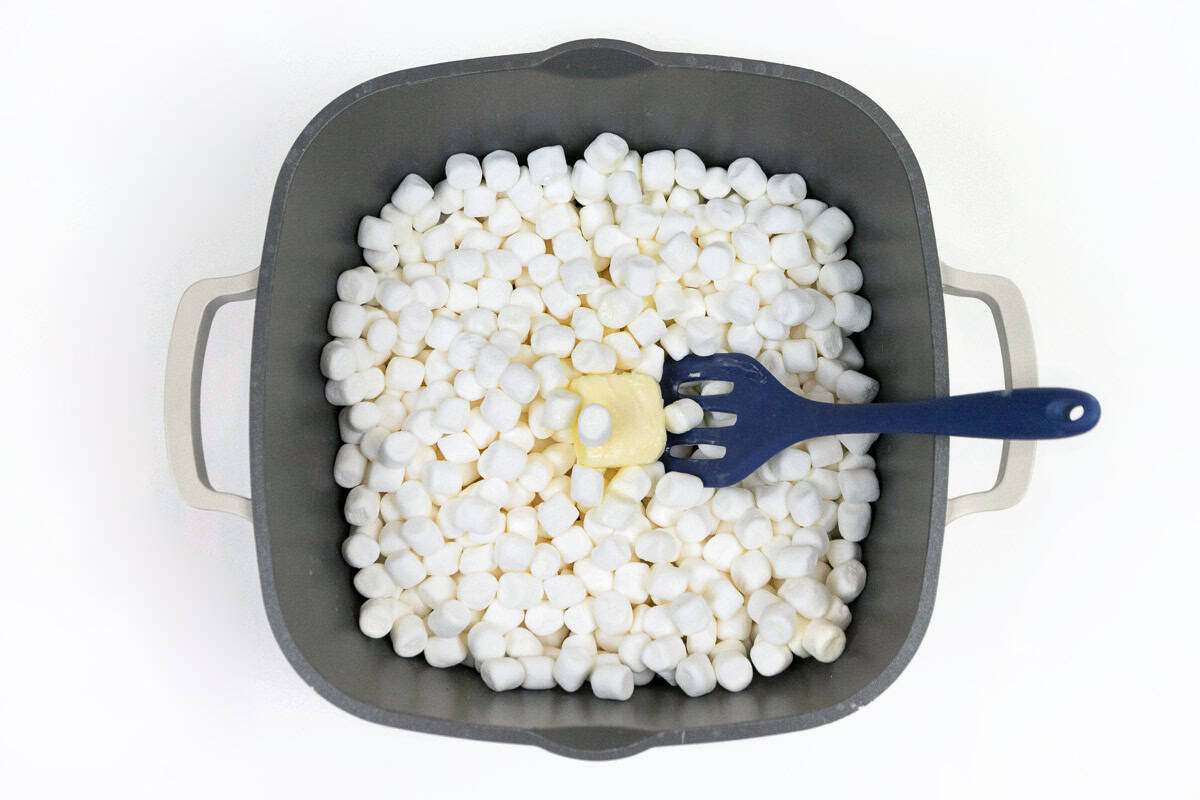
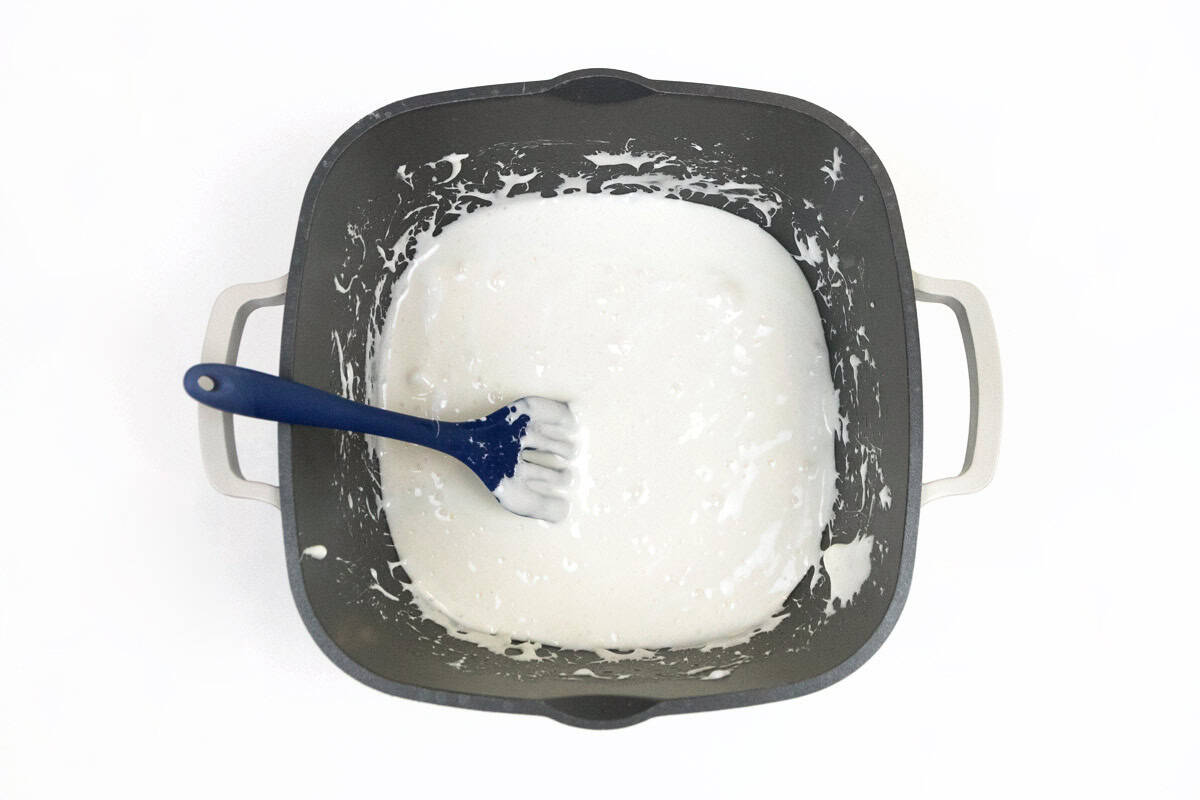
Step 4. Melt the Butter and Marshmallows
Continue cooking the marshmallows and butter over medium-low heat, stirring constantly with a rubber spatula, until the mixture is smooth and completely melted. Once melted, remove the saucepan from the heat.
Step 5. Add the Rice Krispies
After turning off the heat, slowly add all 7 cups of Rice Krispies cereal to the saucepan with the marshmallow and butter mixture. Adding the cereal all at once can make it difficult to mix.
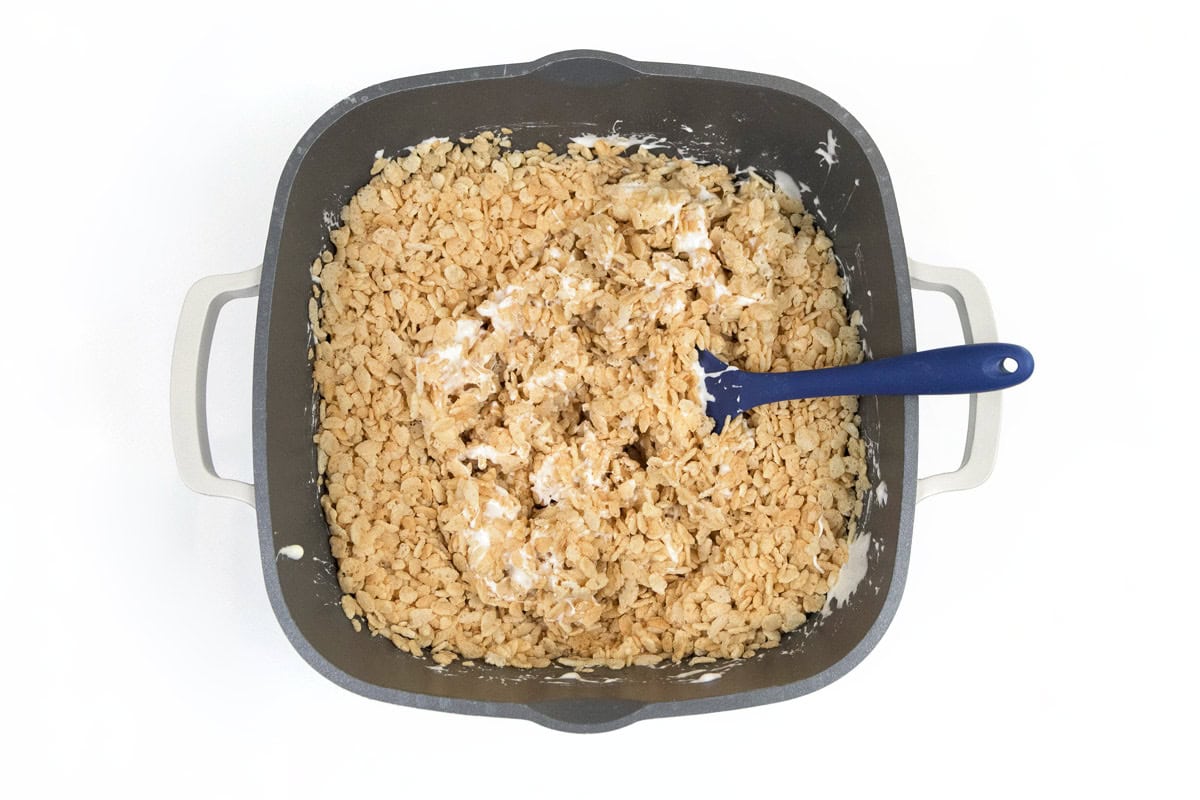
Step 6. Combine the Rice Krispies with the Marshmallow Mixture
Next, gently stir the Rice Krispies and marshmallow mixture together using a spatula or large spoon. Continue mixing until the cereal is evenly coated with the melted marshmallow mixture. Be gentle while stirring to avoid crushing the cereal and keep those crispy pieces intact.
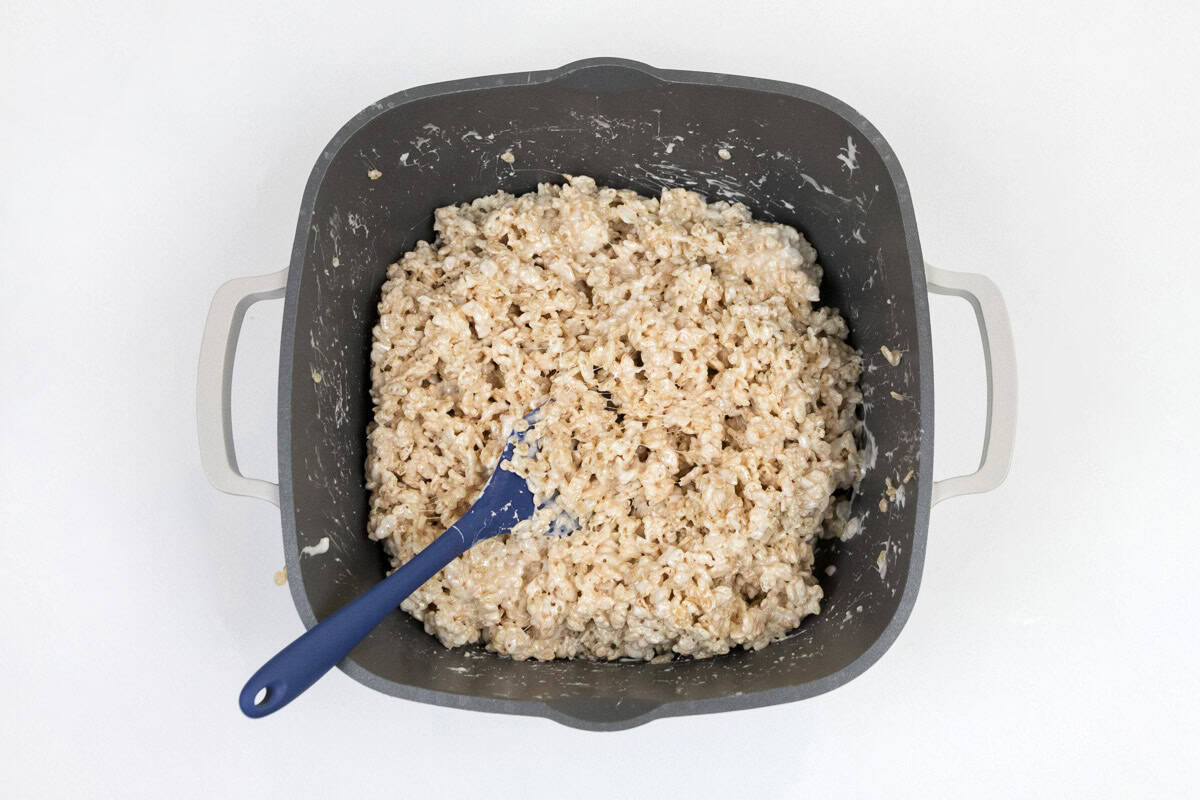
Step 7. Transfer and Spread the Rice Krispie Mixture
Using a spatula or spoon, spread the Rice Krispie mixture evenly into the prepared baking dish. You can also use your hands to gently spread it out. If the mixture starts sticking to your hands, lightly butter your hands to make the process much easier.
Once the mixture is evenly spread, gently press it down just enough to hold everything together. Be careful not to pack it down too firmly. The goal is to keep your Krispie treats soft, gooey, and chewy while still making sure they hold their shape when you pick them up.
Note: The more firmly you press and pack the mixture, the harder and denser your Krispie treats will be. For soft, gooey treats, a light touch is best!
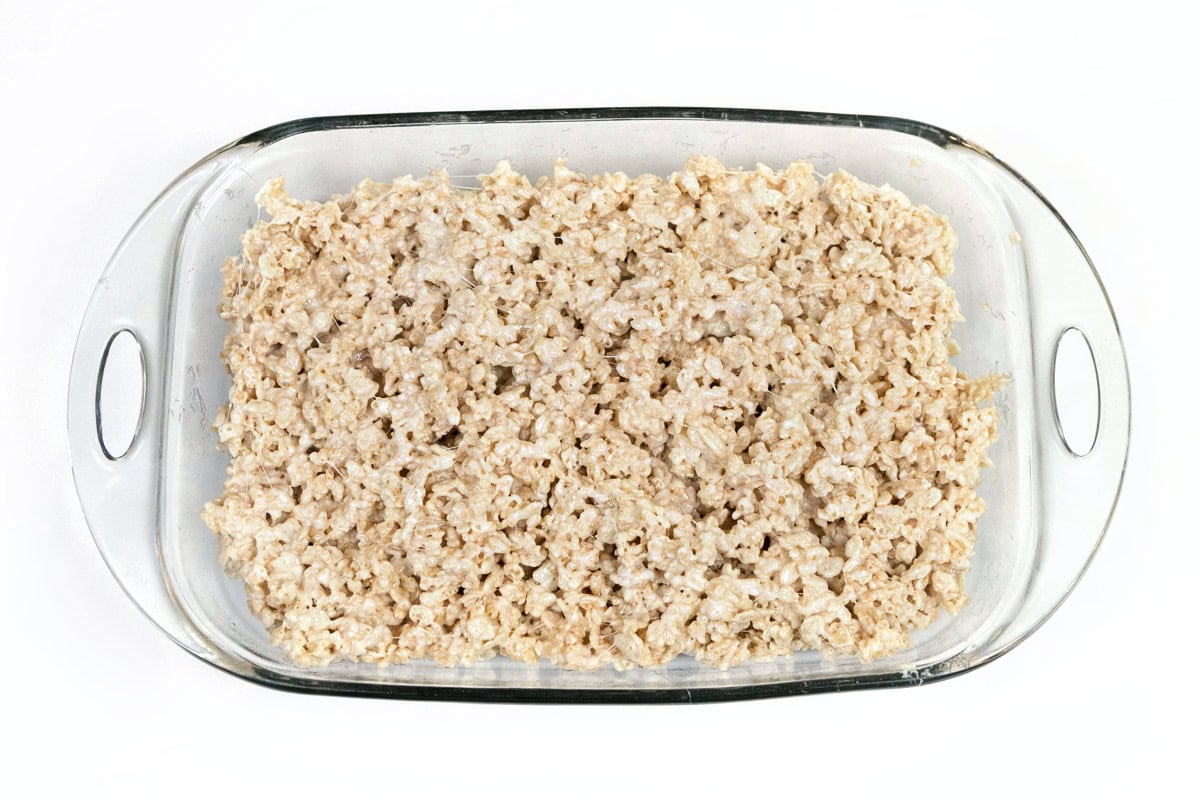
Let the Rice Krispie treats cool and set for about one hour before cutting. It’s important to let them fully set, as cutting them while they’re still warm can cause them to fall apart. Giving them enough time to cool will also help the treats hold together better when you’re ready to enjoy them.
Step 9. Cut the Rice Krispie Treats
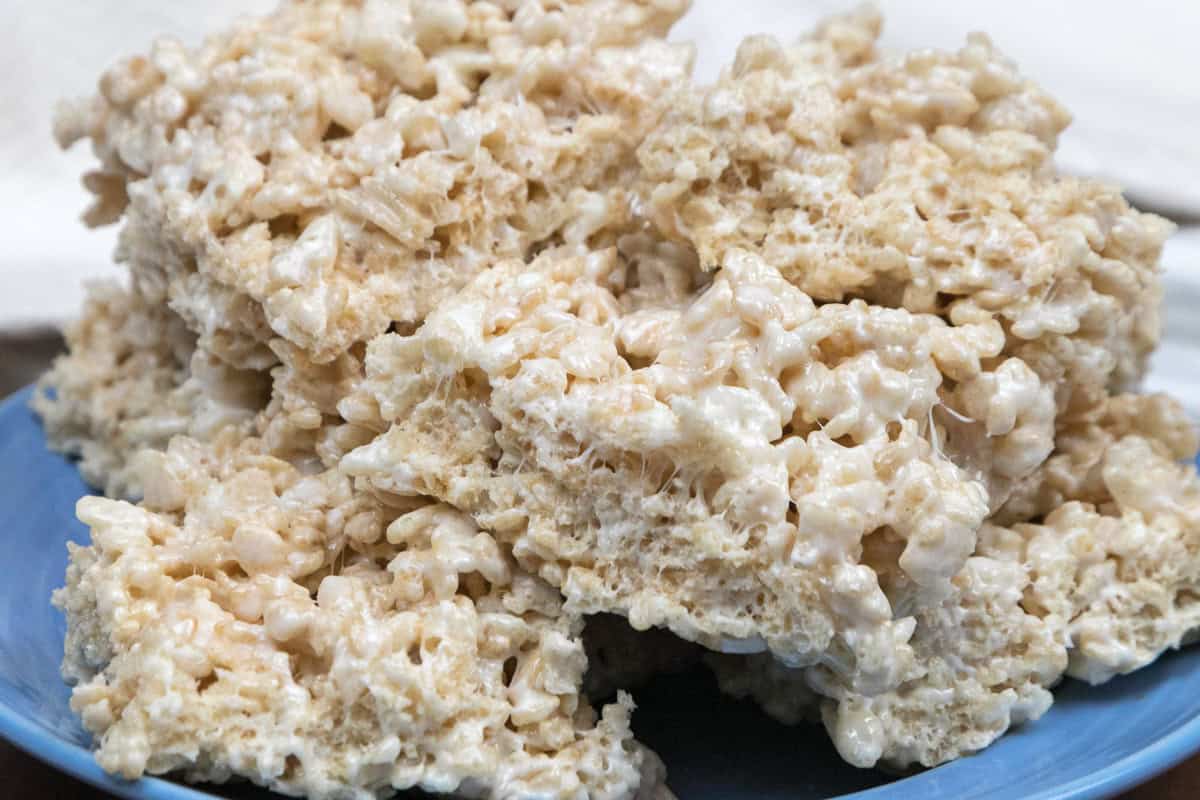
Once the Rice Krispie treats are completely cooled and set, cut them into squares, serve, and enjoy!
Note: For the best taste and texture, it’s recommended to enjoy the Krispie treats the same day they’re made. They can be stored in an airtight container or wrapped in plastic wrap at room temperature for a couple of days, but keep in mind that the longer they sit, the firmer and harder they will become.
If you’d like to keep them longer, you can freeze the treats for up to about 2 months. However, freezing isn’t recommended because it can change their texture, and they may become soft or soggy once thawed.
🌟 Recipe Variations
- Add any kind of chopped nuts to add an extra crunchy texture such as peanuts, walnuts, or macadamia nuts.
- Add peanut butter, melted chocolate, or even a caramel drizzle to the top of your Rice Krispie treats for a new flavor.
- Substitute the Rice Krispies cereal for a different type to make a fun new twist. Try using Fruity Pebbles, Froot Loops, or Frosted Flakes instead!
❓FAQ’s
Can I Add Chocolate Chips or Other Toppings to my Rice Krispie Treats?
Definitely! You can add chocolate chips, chocolate drizzle, sprinkles, extra marshmallows, or any other favorite toppings. Just be sure the mixture isn’t too hot when adding ingredients that could melt. Additionally, make sure that if you are adding extra marshmallows, you don’t add too many to be sure that your Rice Krispie treats will stay together when you try to eat them.
You can even substitute the type of cereal to make fun new types of sweet treats! Try using Fruity Pebbles, Froot Loops, or Frosted Flakes instead of the Rice Krispies cereal for a new twist.
How do I cut Rice Krispie Treats Without Making a Mess?
Let the treats cool completely first, then use a sharp knife to cut them into squares. Lightly buttering the knife can also help prevent the sticky marshmallow mixture from sticking.
Can I use Margarine Instead of Butter?
Yes, margarine can be used in place of butter. However, butter generally provides the best flavor and gives the treats that classic homemade taste.
Should I Refrigerate Rice Krispie Treats?
Refrigeration isn’t necessary. In fact, keeping them at room temperature in an airtight container helps them maintain a softer texture. However, if you wanted to refrigerate or freeze the Rice Krispie treats they would last longer and still be good, but the texture might change.
💭 Final Thoughts
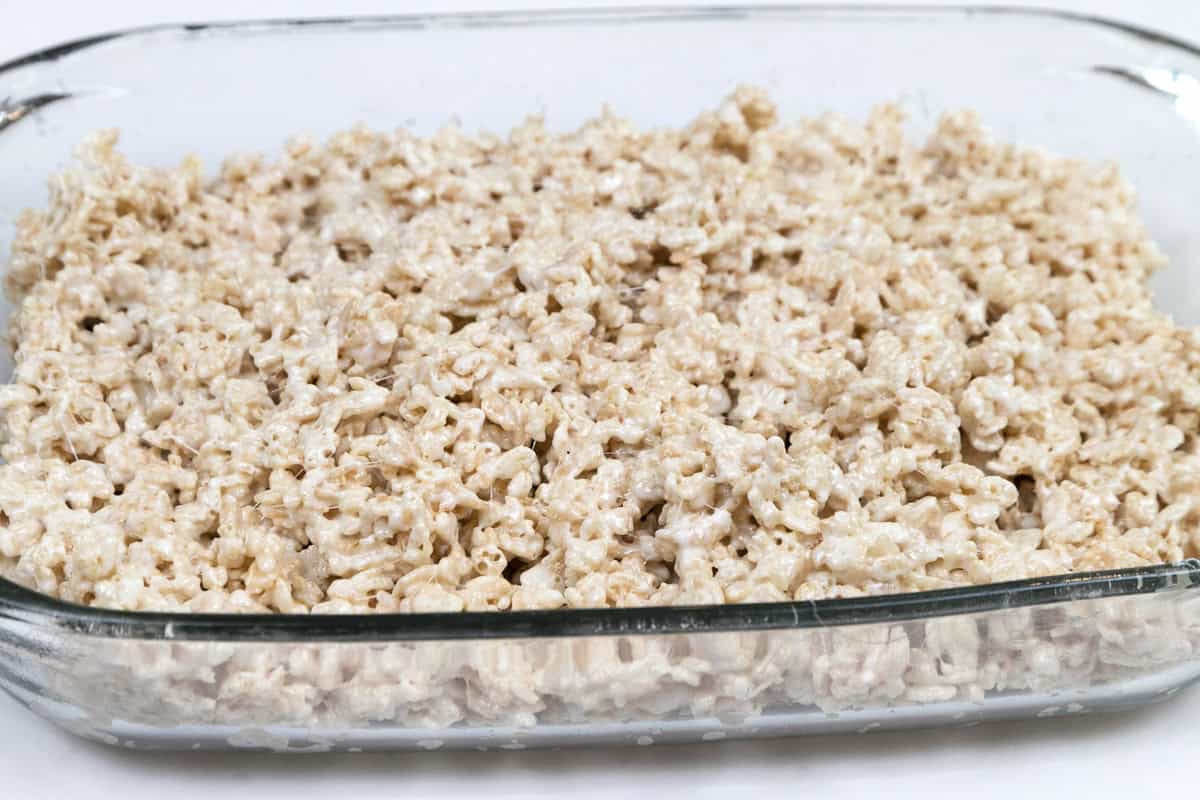
This Rice Krispie treats recipe is the perfect, easy-to-make recipe for any occasion. They are soft, chewy, and wonderfully gooey, made with simple ingredients and plenty of homemade goodness.
Every bite brings that classic sweet-and-crispy texture we all love, making these treats fun to share and absolutely irresistible!
📋Recipe Card
Rice Krispie Treats Recipe (Homemade)

🫕 Equipment
- Baking dish (9×13 inch)
🧂 Ingredients
- 7 cups Rice Krispies Cereal
- 4 tbsp butter
- 16 oz mini marshmallows
👩🍳 Instructions
- Lightly coat a 9×13-inch baking dish or pan with cooking spray or butter, or line it with aluminum foil.
- Melt the butter over medium-low heat until it is almost completely melted.
- Add the mini marshmallows to the melted butter. Continue cooking over medium-low heat, stirring constantly, until the marshmallows are completely melted and smooth.
- Gradually add the Rice Krispies to the melted marshmallow mixture, stirring gently until the cereal is evenly coated. Be careful not to crush or mush the cereal as you mix.
- Transfer the marshmallow and Rice Krispie mixture to the prepared baking dish and gently spread it into an even layer.
- Lightly press the Rice Krispie mixture into the baking dish, just enough to hold it together without packing it down too firmly.
- Allow the Rice Krispie treats to cool and set for about 1 hour. Once completely cooled, cut them into squares and serve.
*️⃣ Recipe Notes
- It’s best to enjoy these Rice Krispie treats within the first few days of making them; otherwise they may harden.
- Freezing Rice Krispie treats can help them last a few months, however they can become soggy and acquire a different taste after thawing.
🥰 More Dessert Recipes You Will Love
- Mississippi Mud Cake – Perfect for chocolate lovers, with plenty of mini marshmallows, chocolate frosting, and chocolate chips!
- Chocolate Chip S’mores Cookies – If you’re craving s’mores but can’t go camping, these easy cookies are packed with gooey marshmallows, crunchy graham crackers, and lots of chocolate chips in every bite.
- Cookie Pizza – Made with a giant cookie crust and piled high with toppings, this dessert is customizable and perfect for any family member!

One of the smartest and most responsible little girls you’ll ever meet. Kylie is on the student council at school and loves being involved in all kinds of sports and activities. She published her first post at 10 years old and is looking forward to writing many more!
Update (August 14th, 2026): I am now 14 years old, beginning my freshman year of high school! During middle school, I played many sports, such as track, soccer, and basketball. Basketball is my favorite, and I am excited to continue playing it in high school. Some of my favorite things to do are hiking, travelling, cooking, listening to music (especially Noah Kahan, Bruno Mars, and Michael Jackson), and playing sports!
More by Kylie ➜
