Updated: April 4th, 2024
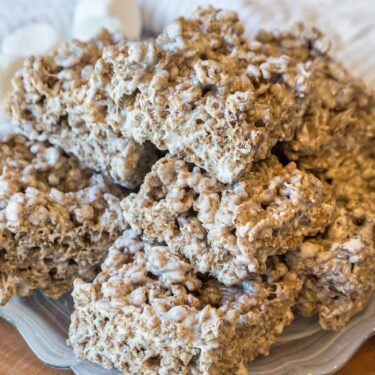
A fun and delicious Cocoa Krispie Treats recipe to make for the whole family. After all, who doesn’t love Cocoa Krispies treats? Made with melted butter, mini marshmallows, and Cocoa Krispies cereal, then all squished together in a pan and cut into delightful Cocoa Krispie squares! Yum!
🍽️ Key Ingredients
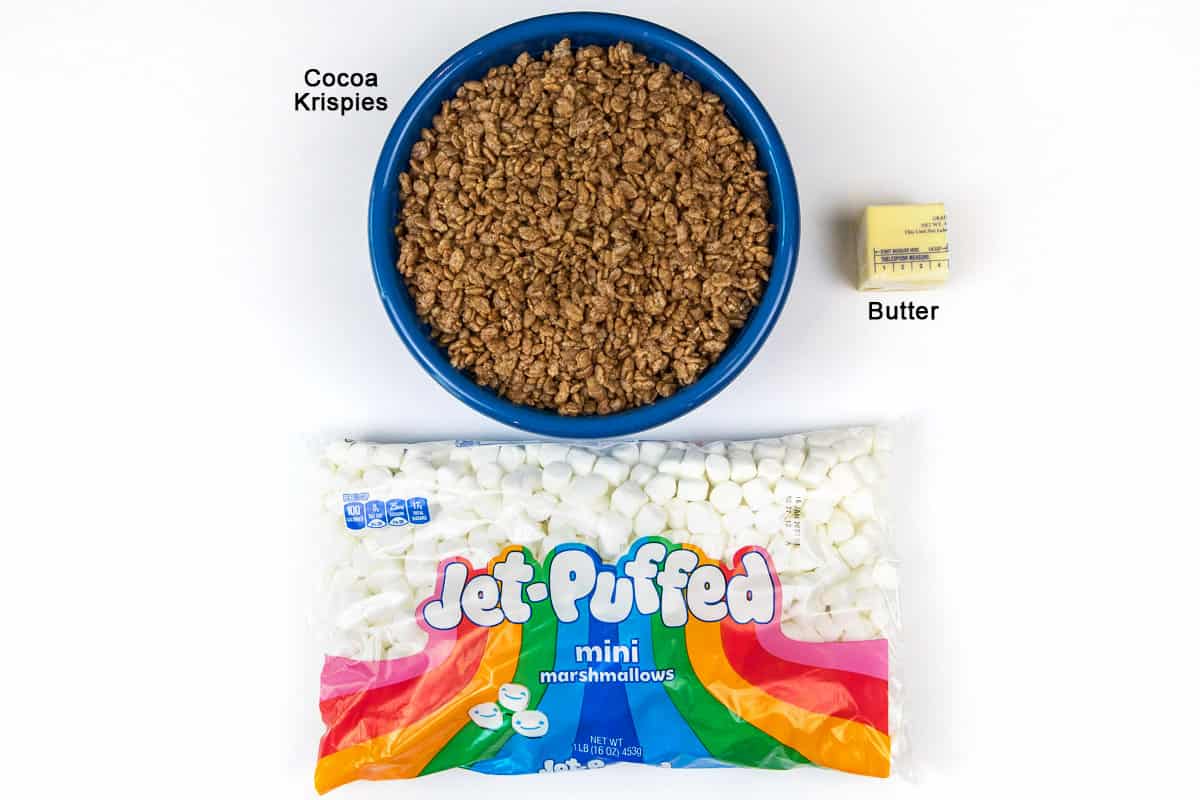
- 7 cups Cocoa Krispies® cereal
- 4 tablespoons of butter
- 16 ounces of mini marshmallows (1 bag)
👩🍳 How to Make Cocoa Krispies Treats
These step-by-step instructions are accompanied by detailed photos for enhanced clarity and guidance.
Step 1. Spray a Baking Dish
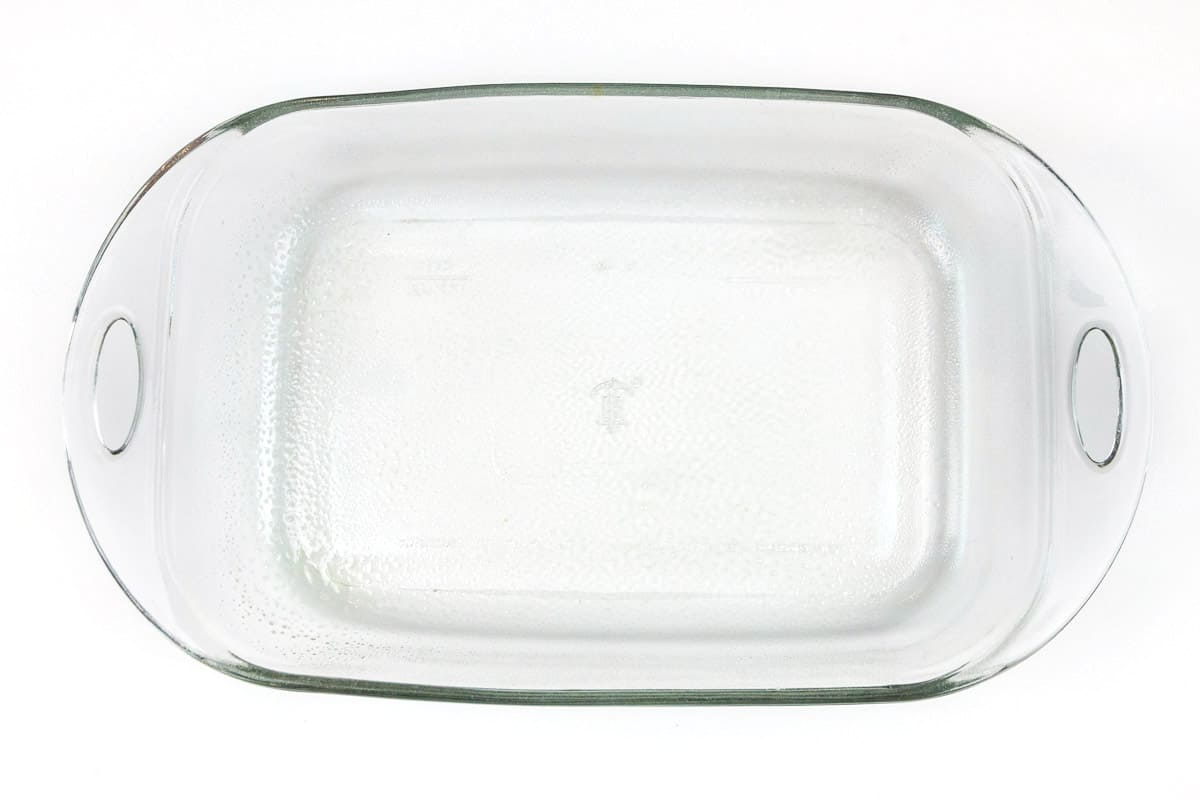
The first step is to spray a 9×13-inch baking dish or baking pan with cooking spray, or you can also line the dish or pan with aluminum foil, or spread some butter on the pan if you prefer. Then, set the baking dish or pan aside for now.
Note: We are using a baking dish, but there is no baking done in this recipe. You can use any 9×13-inch pan you have.
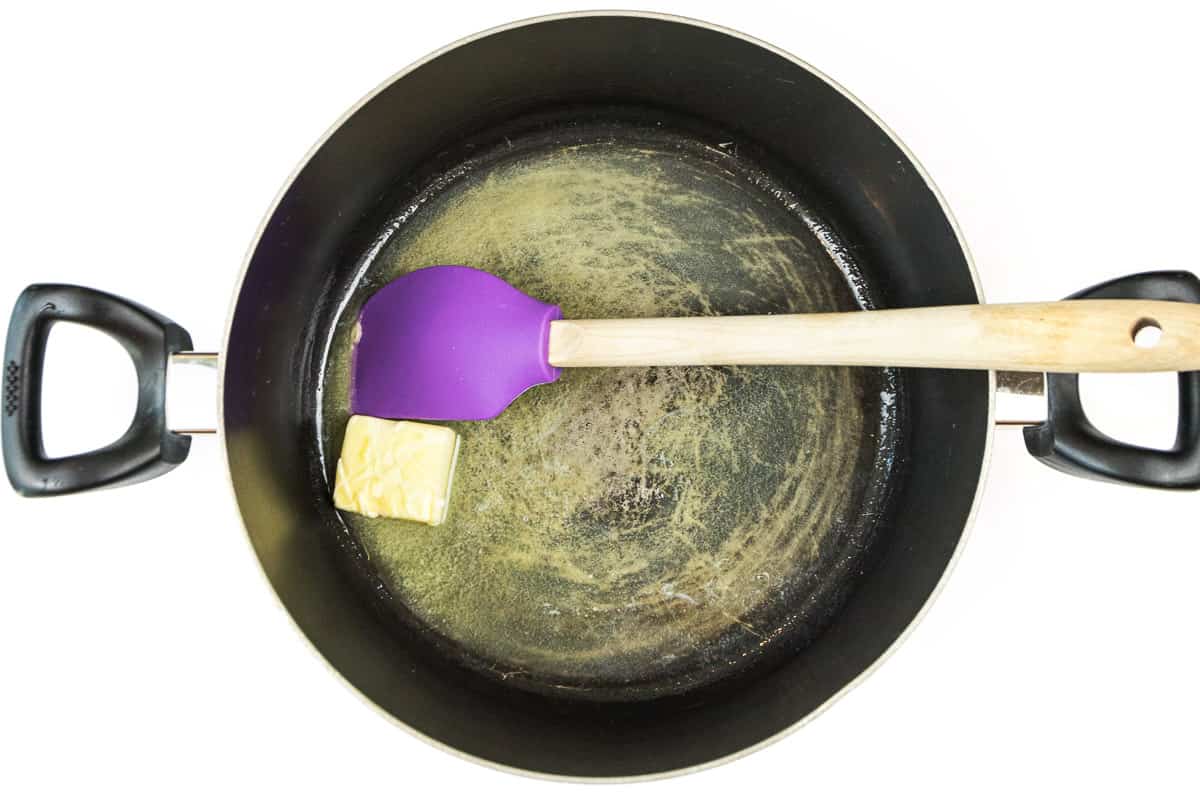
Step 2. Melt the Butter
Secondly, put 4 tablespoons of butter in a saucepan. Melt butter over medium low heat until it is just about melted.
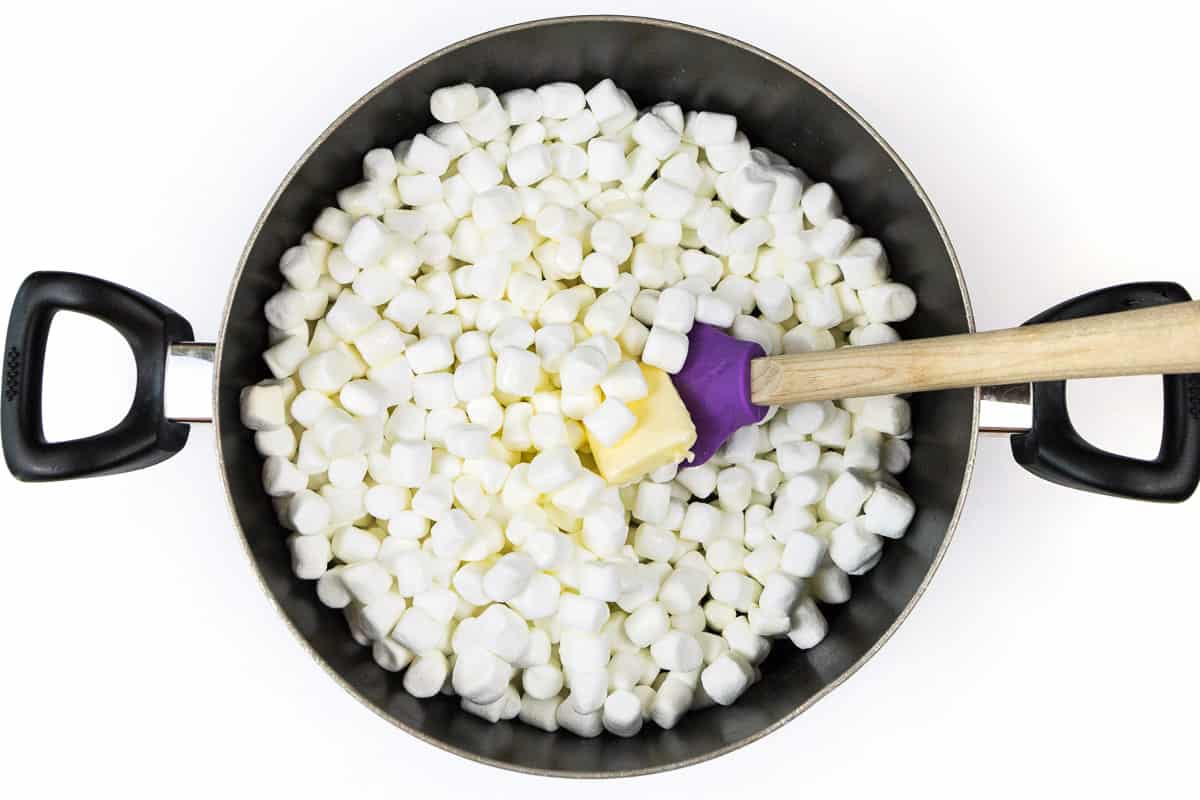
Step 3. Add the Marshmallows
Keep the heat on medium-low and add 16 ounces of mini marshmallows to the saucepan together with the melted butter.
Note: You can use the big marshmallows, a 16-ounce bag, about 64 marshmallows, with no problem, just as long as it is equivalent to this recipe. The only difference I see in using mini marshmallows is they melt faster. I mean they taste the same, right? A marshmallow is a marshmallow, after all. 🙂
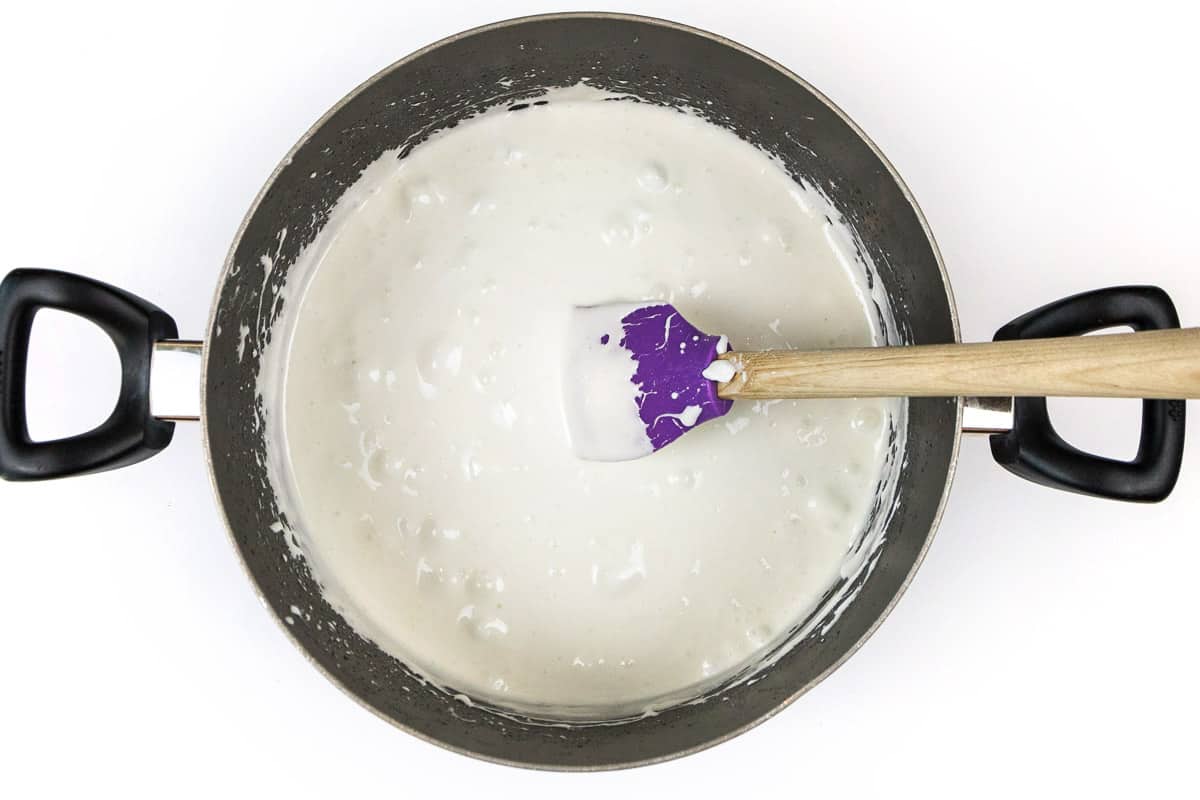
Step 4. Melt the Marshmallows and Butter
Then, melt the marshmallows with the butter until the mixture is completely melted. Remember to keep stirring while it is melting. After that, turn the heat off.
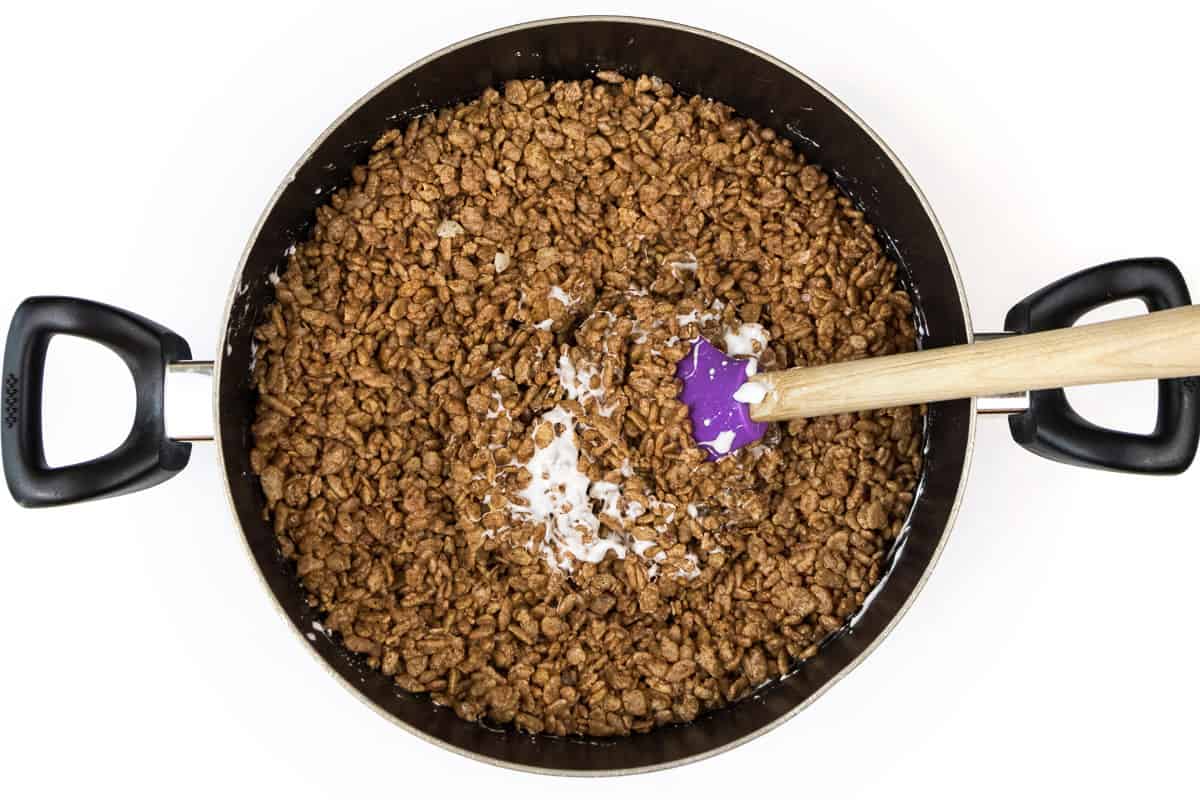
Step 5. Add the Cocoa Krispies
After turning the heat off, slowly add all 7 cups of Cocoa Krispies cereal to the saucepan together with the marshmallow and butter mixture. Adding the cereal all at once can be difficult to mix it up.
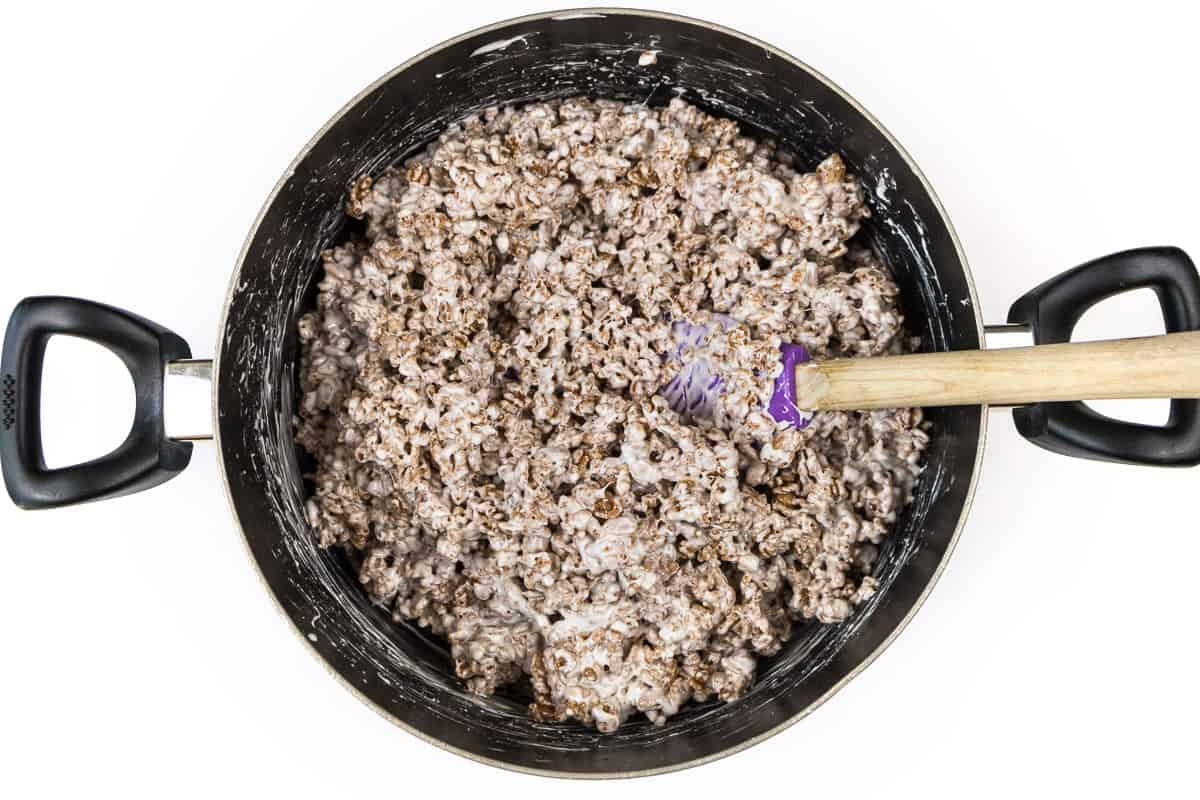
Step 6. Mix the Cocoa Krispies and the Marshmallow Mixture
Next, using a spatula or spoon, stir the Cocoa Krispies cereal together with the marshmallow mixture until all the Cocoa Krispies cereal is coated with melted butter and marshmallow cream. Be careful not to smash up the cereal.
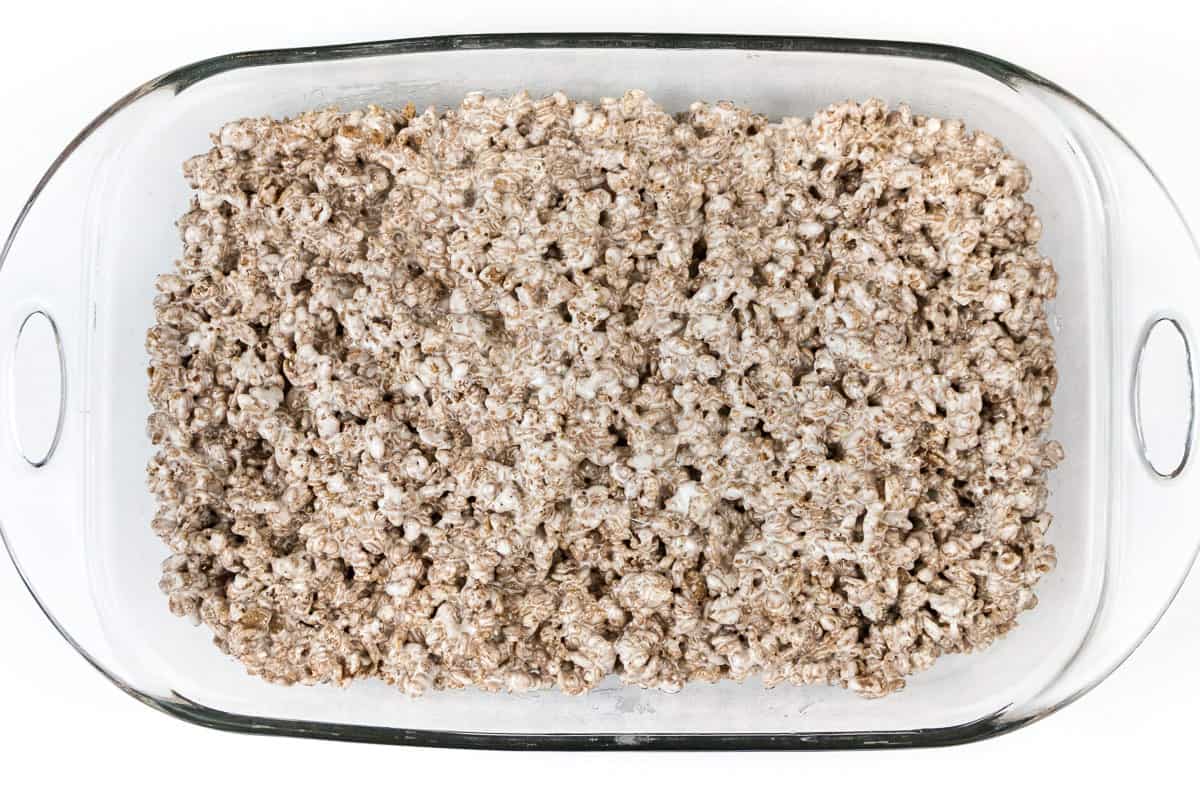
Step 7. Spread the Cocoa Krispie Mixture in the Dish
With a spatula or spoon, spread the Cocoa Krispie mixture evenly into the baking dish, or you can use your hands to spread it around. It is easier to spread if you put a little bit of butter on your hands, then spread the mixture around.
When done spreading the Krispie mixture around in the dish, gently flatten the mixture down just a tiny bit. Do not press too hard. I like my Krispie treats ooey gooey and soft, but not falling apart. So that’s why you press ever so lightly, but just firm enough so they won’t fall apart when it’s time to eat them.
Note: Remember, the harder you pack them, the harder they are to eat.
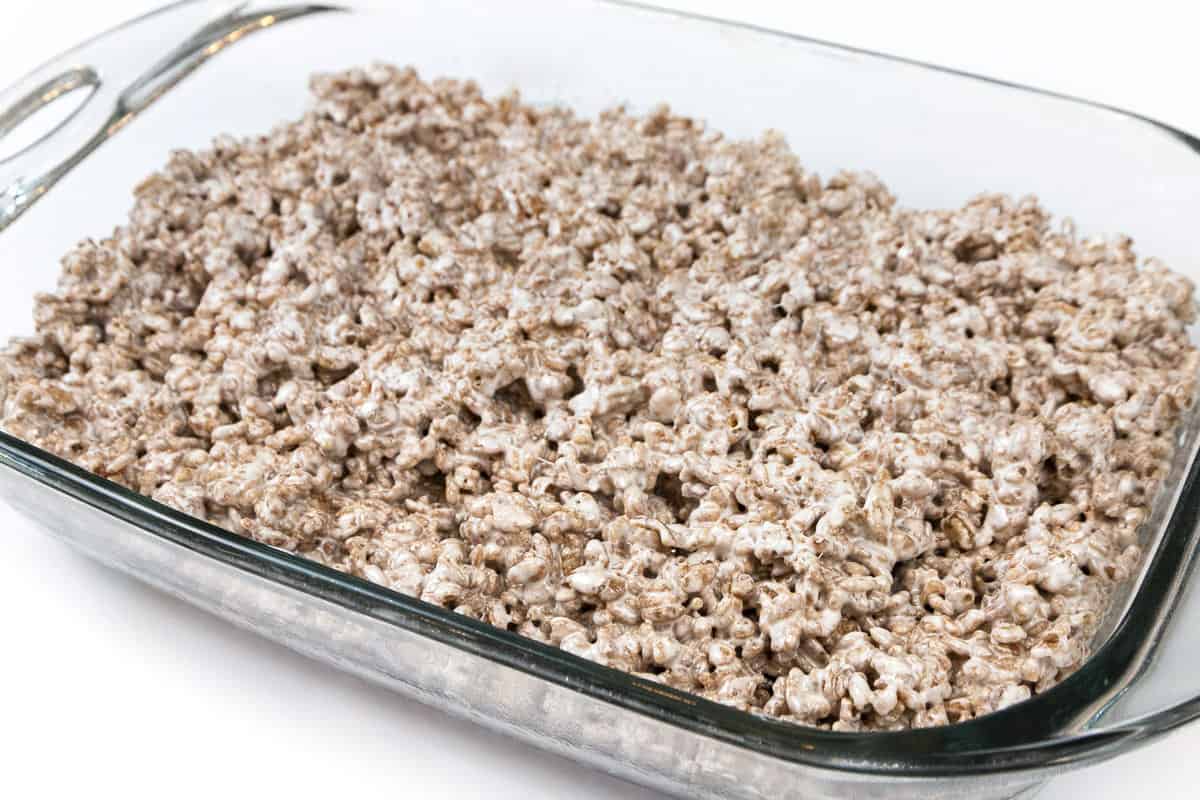
Step 8. Let the Cocoa Krispie Treats Set
Allow the Krispie Treats to set for about an hour to cool. If the Krispie treats aren’t cooled, they will fall apart when you try to cut them (in step 9), and also fall apart when you eat them.
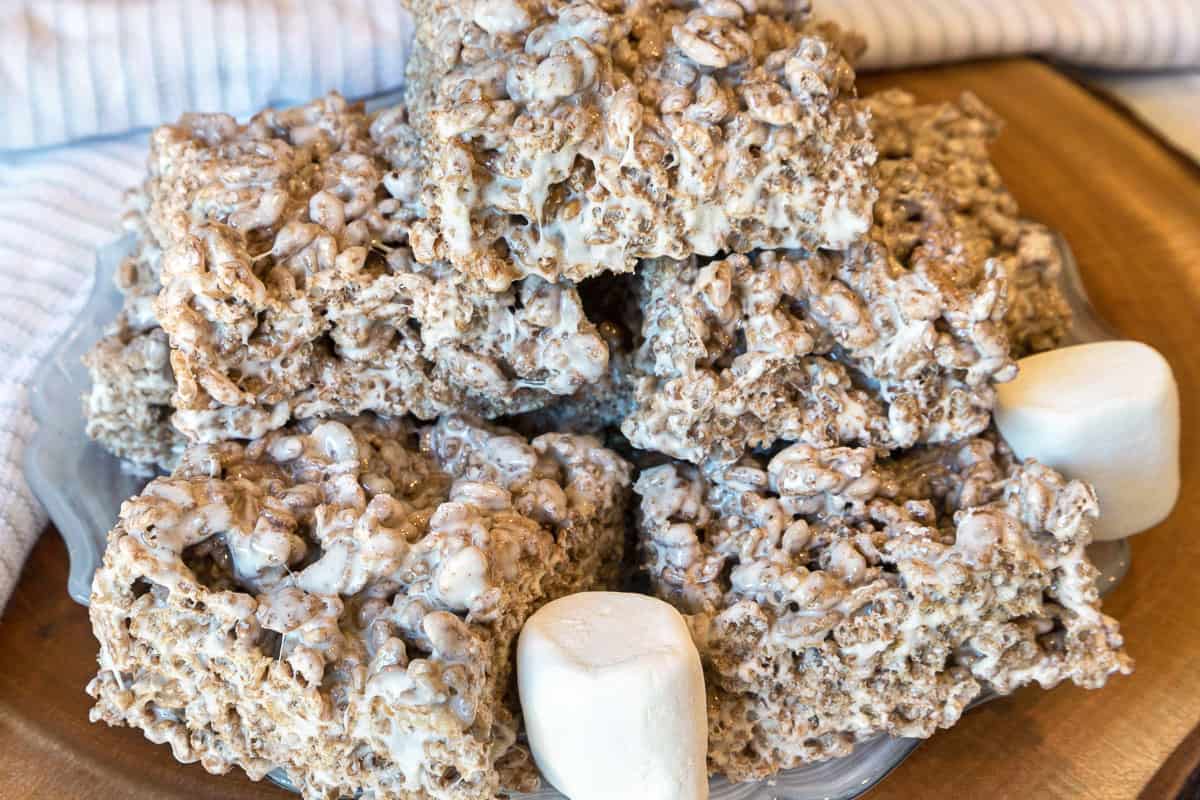
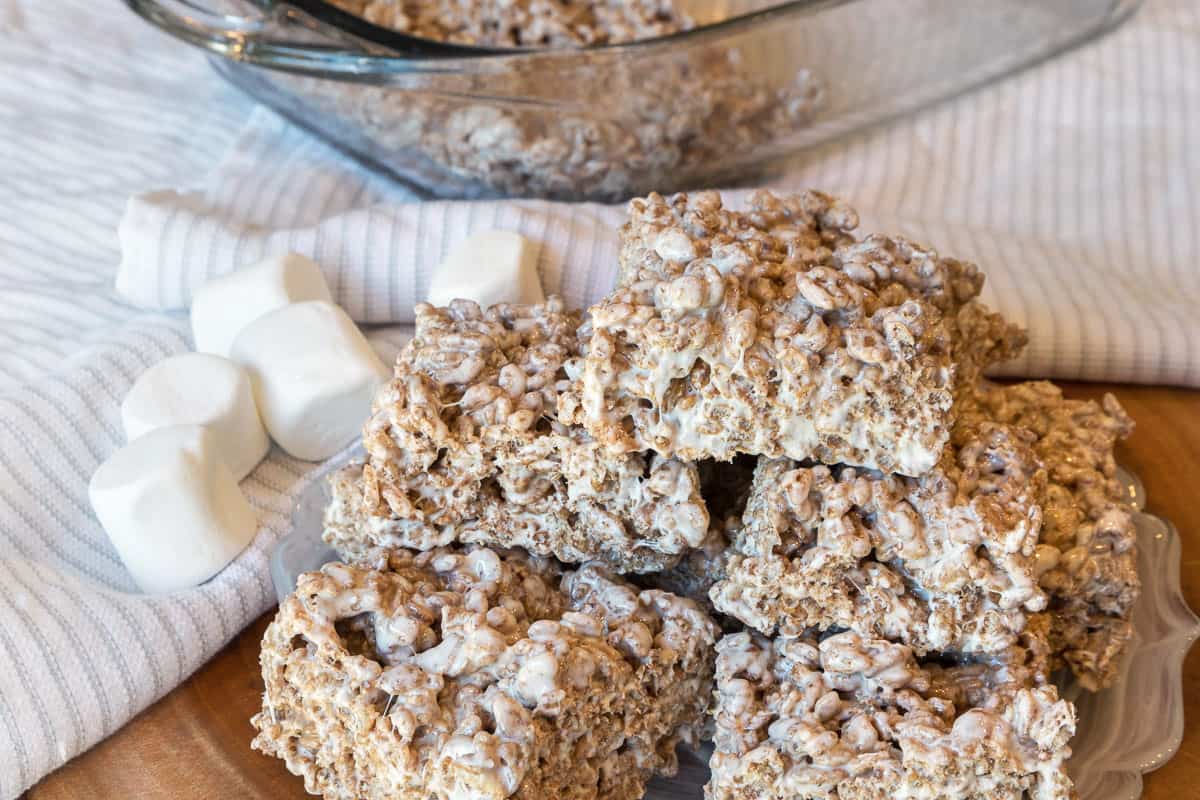
Step 9. Cut the Cocoa Krispie Treats
After the Cocoa Krispie treats have cooled, cut them into squares, serve, and enjoy!
Note: It is best when the Krispie treats are served the same day. They are good for just a couple of days in an airtight container on the countertop, but the longer they sit, the harder they get.
So eat ’em up within that time, or you can freeze them for up to about two months in the freezer if you choose to, however, it is not recommended since the texture will change and the Cocoa Krispie treats can become soggy when thawed.
❓ FAQs
Yes, to freeze Cocoa Rice Krispie treats, place them in layers, separated by wax paper, in an airtight container. When doing this, you can freeze them for up to 6 weeks. To thaw, let the Krispie treats sit on the countertop at room temperature for 15 minutes before serving. But be aware that they can become soggy after thawing.
Using too little rice cereal will make your treats soggy, and using too much will make it hard to keep the rice cereal stuck together.
Yes, you can make chocolate Rice Krispies treats by adding about 2 to 3 tablespoons of cocoa powder together with the melted butter and marshmallow.
Or how about 1/2 of a cup of chocolate chips, or 2 to 3 tablespoons of peanut butter, or both? Peanut butter and chocolate chips sound amazing to add to Cocoa Krispies treats.
To make peanut butter Cocoa Rice Krispies, you can add peanut butter to the butter marshmallow mixture while it is melting on the stove or it can be spread on top when the Cocoa Krispies are cooling.
The chocolate chips can be added to the butter marshmallow mixture while it is cooking on the stove or added after the marshmallow cream has melted. You don’t necessarily need to have the chocolate chips melt completely in this mixture. Some will melt while the mixture is still hot, but if some don’t melt, that’s even better yet, if you know what I mean. You can also spread some melted chocolate chips on top of the Krispie treats.
⭐️ Final Thoughts
This Cocoa Krispie treat recipe is so yummy, easy, and quick to make in just a matter of minutes. These treats are also great to take to picnics, potlucks, weddings, birthday parties, or bake sales.

Recipe Card
Cocoa Krispie Treats
🫕 Equipment
- Baking dish 9×13-inch
🧂 Ingredients
- 7 cups Cocoa Krispies® cereal
- 4 tbsp butter
- 16 oz mini marshmallows
👩🍳 Instructions
- Spray, butter, or line with aluminum foil a 9×13-inch baking dish or pan.
- Heat the butter on medium-low heat until just about melted.
- Add the mini marshmallows to the melted butter. Cook on medium-low heat until the marshmallows are melted, stirring constantly.
- Add the Cocoa Krispies. Mix thoroughly. Try not to mush up the Cocoa Krispies.
- Spread the marshmallow and Cocoa Krispie mixture into the prepared baking dish.
- Very lightly pat down the Cocoa Krispie mixture into the baking dish.
- Let the Krispie treats cool for about an hour, then cut into squares and serve.
*️⃣ Recipe Notes
- It is best to eat the Cocoa Krispies treats within a day or two. The longer they sit uneaten, the harder they will get.
- You can freeze the Cocoa Krispie treats for a couple of months in the freezer, but beware that they can become soggy and not taste quite the same after thawing.
🥰 More Dessert Recipes You Will Love
- Red White and Blue Rice Krispie Treats – This recipe is for when you want to be festive during the 4th of July holiday. So fun!
- Recipe for S’mores Cookies with Chocolate Chips – An out-of-this-world cookie!
- Mississippi Mud Pie Recipe – The best of the best chocolate Mississippi mud pie you will ever eat!
One of the smartest and most responsible little girls you’ll ever meet. Kylie is on the student council at school and loves being involved in all kinds of sports and activities. She published her first post at 10 years old and is looking forward to writing many more!
More by Kylie ➜