Updated: April 12th, 2024
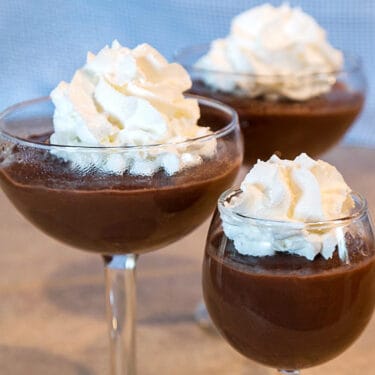
Homemade chocolate pudding is so much yummier than store-bought pudding by a long shot, that’s for sure. Also, you have peace of mind knowing all the ingredients that your kids are eating. You may never want to buy chocolate pudding at the store again.
This is a quick and easy recipe to follow and your family and friends are going to love it. And for an extra delicious treat, don’t forget to top it off with some whipped cream out of a can, or homemade whipped cream would be even better on top!
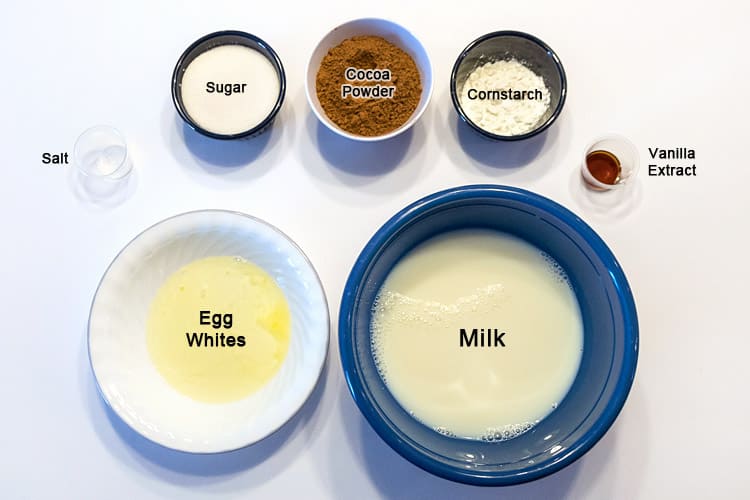
🥄 Key Ingredients
- 2 and 1/4 cups of skim milk (divided)
- 2/3 cup of Hershey’s cocoa (unsweetened)
- 1/2 cup of granulated sugar
- 2 egg whites
- 2 tablespoons of cornstarch
- 1 teaspoon of vanilla extract
- 1/8 teaspoon of table salt
👩🍳 How to Make Homemade Chocolate Pudding
These step-by-step instructions are accompanied by detailed photos for enhanced clarity and guidance.
Step 1. Prepare the Egg Whites
In a small bowl (not shown), lightly beat 2 egg whites with a fork just until they are blended, then set the egg whites aside for now.
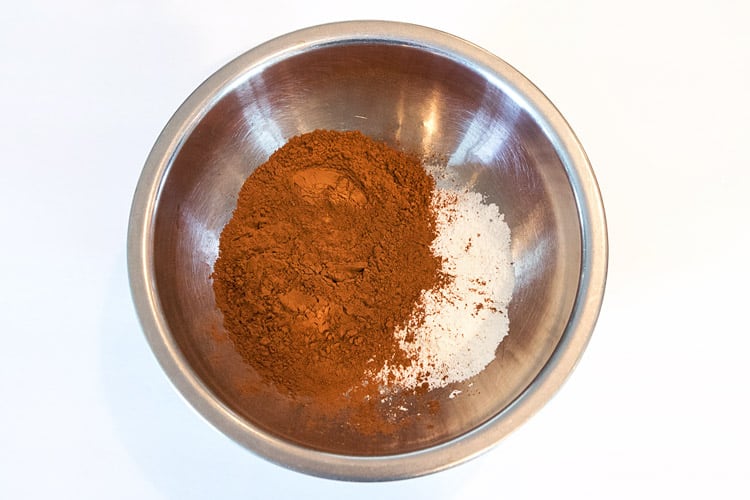
Step 2. Combine the Unsweetened Cocoa and Cornstarch
In a large bowl, add 2/3 cup of unsweetened Hershey’s cocoa together with 2 tablespoons of cornstarch. You can use whichever unsweetened cocoa powder you prefer, we just so happened to have some Hershey’s cocoa in the cupboard.
Step 3. Add the Skim Milk
Add 3/4 of a cup of skim milk together with the cocoa mixture. Save the remaining 1 and 1/2 cups of skim milk for later. Skim milk reduces fat content, however, you can use whole milk, 2% milk, or 1% milk if you prefer.

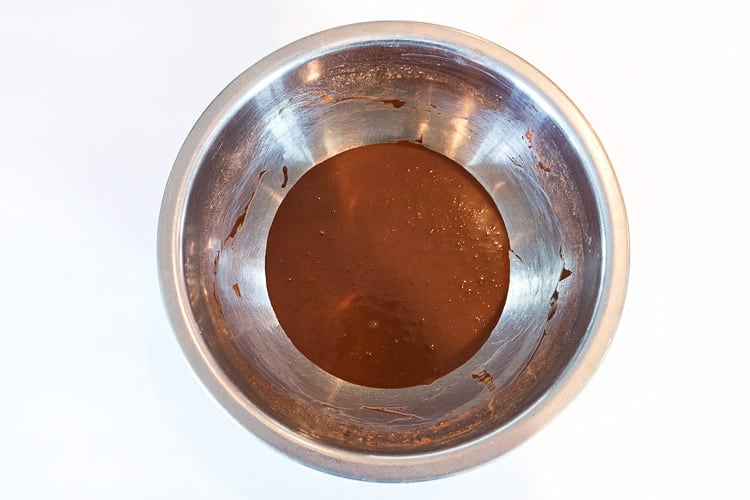
Step 4. Whisk It Smooth
Use a whisk to mix the skim milk and the cocoa mixture together until the cocoa mixture is completely smooth. Set aside for now.
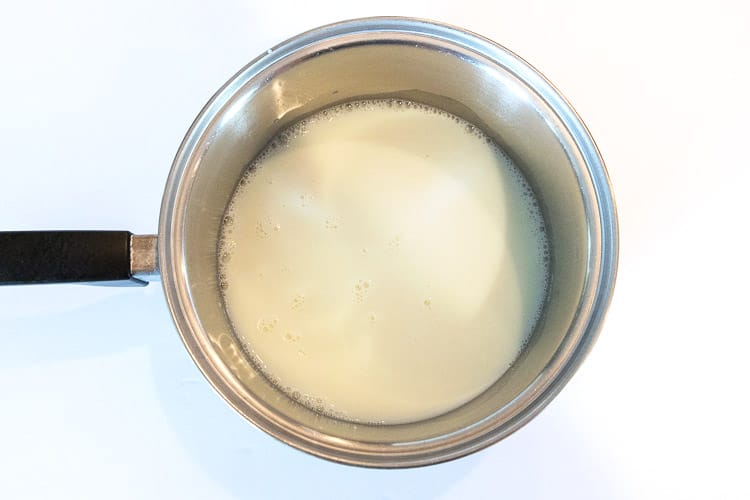
Step 5. Boil the other Half of Skim Milk together with the Sugar and Salt
In a large heavy pot, put the remaining 1 and 1/2 cups of skim milk together with 1/2 cup of sugar and 1/8 teaspoon of salt. Mix it all up together with a whisk.
Set the pot on the stove and turn the heat on high. Bring the milk, sugar, and salt mixture to a boil whisking constantly, then remove the pot from the burner and immediately go to step 6.
IMPORTANT: Milk will scorch, in other words, burn, on the bottom of the pan, so be sure to keep whisking fast and constantly as the milk cooks.
Note: If you don’t have a whisk, don’t panic, a fork will work fine. A whisk helps you mix the ingredients faster, and without making a big mess, and also a whisk gets air into the ingredients to increase the volume of the mixture. A whisk also helps to prevent lumps or clumps.
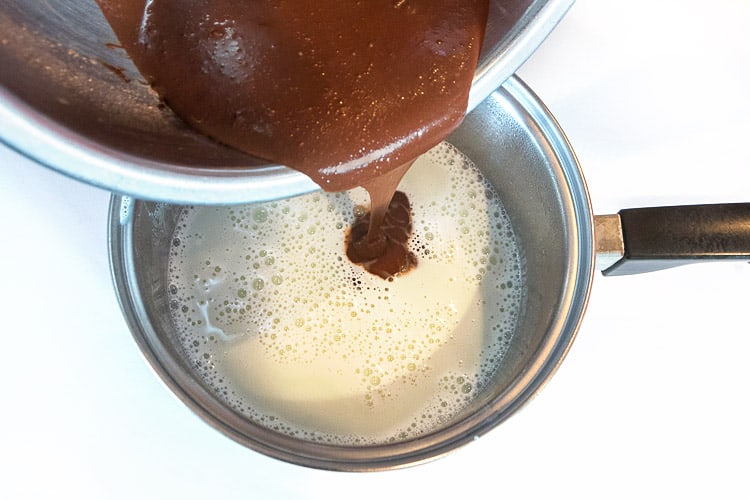
Step 6. Add the Unsweetened Cocoa Mixture
Immediately dump the cocoa mixture into the hot skim milk mixture while the skim milk is still hot, whisking constantly. Put the pot back on the burner on medium-high heat. Bring the mixture to a boil and continue to whisk constantly. Boil for 2 minutes. After the 2 minutes are up, once again remove the pot from the burner.
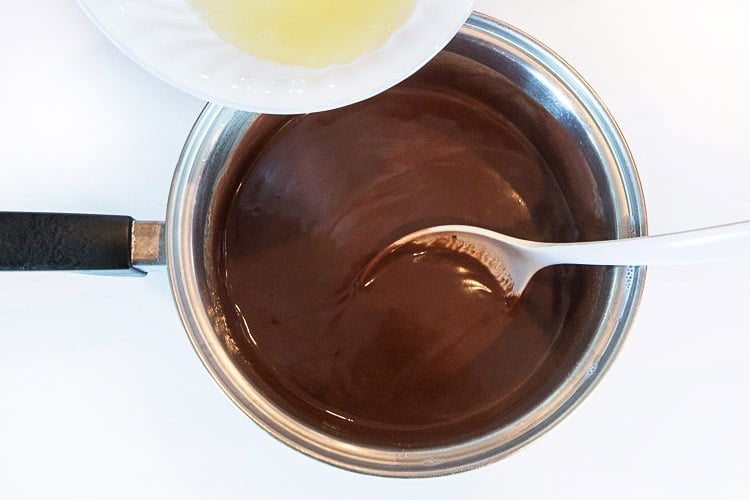
Step 7. Mix in the Egg Whites
Gradually add the egg whites to the cocoa mixture, whisking fast and constantly. Put the pot back on the burner on medium-low heat and cook for 2 minutes and continue to whisk constantly.
Note: This time, we do not want the cocoa mixture to come to a boil. After cooking for 2 minutes, remove the pot from the burner again.
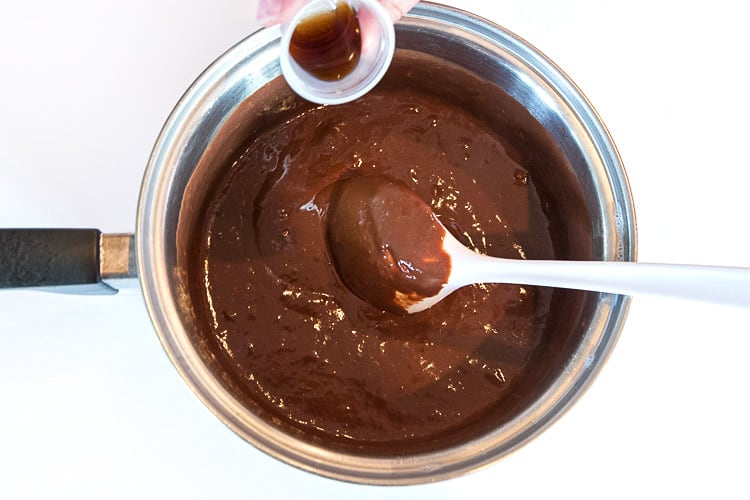
Step 8. Pour in the Vanilla Extract
Add 1 teaspoon of vanilla extract together with the chocolate pudding mixture, then blend well.
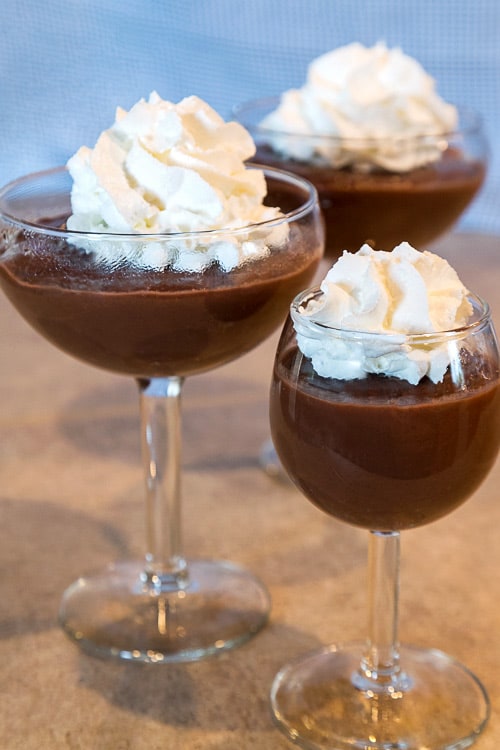
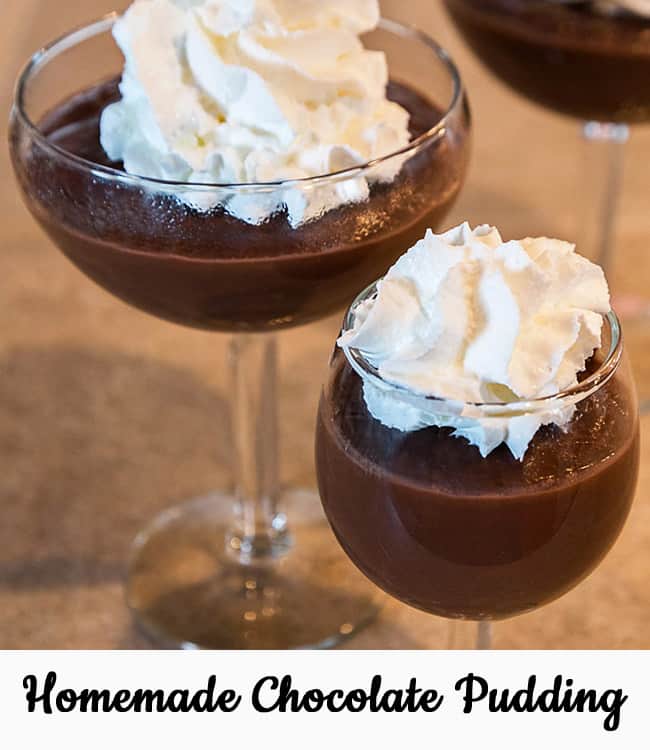
Step 9. Ready-to-Eat Homemade Chocolate Pudding
Pour the chocolate pudding into your favorite serving dishes. Cool at room temperature or chill in the refrigerator for about 1 hour or so.
Tip: To prevent the top of the pudding from forming a film or pudding skin while it is cooling, press a sheet of waxed paper or plastic wrap in each bowl directly on the surface of the pudding. Of course, you will have to cut the wax paper or plastic wrap to fit each bowl of pudding. We didn’t need to do this because the pudding didn’t last long enough to form anything on it. 🙂
📌 Final Thoughts
Some other suggestions for edible garnishes to put on top of the chocolate pudding are fresh strawberries, coconut flakes, chocolate flakes, slivered almonds, mini marshmallows, or crushed Oreo cookies.
📄 Recipe Card
Homemade Chocolate Pudding
🫕 Equipment
🧂 Ingredients
- 2 egg whites
- 2/3 cup cocoa powder (unsweetened)
- 2 tbsp cornstarch
- 2 1/4 cups skim milk (divided)
- 1/2 cup granulated sugar
- 1/8 tsp table salt
- 1 tsp vanilla extract
👩🍳 Instructions
- In a small bowl, lightly beat the egg whites. Set aside.
- In a large bowl, add the unsweetened cocoa and the cornstarch.
- Add half of the skim milk to the cocoa mixture. Save the remaining half of the skim milk for later.
- Whisk the skim milk and the cocoa mixture until smooth. Set aside.
- In a large heavy pot, add the remaining half of the skim milk, sugar, and salt. Mix well.
- Set the pot on the stove, turn the heat on high, and bring the skim milk mixture to a boil. Whisk constantly, then remove from the burner.
- Immediately dump the cocoa mixture into the pot with the hot skim milk mixture, whisking constantly.
- Put the pot back on the burner on medium-high heat. Bring the mixture to a boil whisking constantly. Boil for 2 minutes, then remove the pot from the burner.
- Gradually whisk the egg whites into the cocoa mixture.
- Put the pot back on the burner on medium-low heat. Cook for 2 minutes, whisking constantly, but do not boil. Then, remove the pot from the burner.
- Add the vanilla extract to the chocolate pudding mixture. Blend well.
- Pour the chocolate pudding into serving bowls.
- Cool to room temperature or chill in the refrigerator for about 1 hour.
*️⃣ Recipe Notes
- When making pudding, stir constantly so the mixture doesn’t burn on the bottom of the pan.
- Top the chocolate pudding with strawberries, cocoa, whip cream, coconut flakes, crushed Oreo cookies, coconuts flakes, slivered almonds, or chocolate flakes.
- You can cover each bowl of pudding with plastic wrap or waxed paper to prevent the pudding from forming a film on top.
💑 More Recipes You Will Love
- This homemade chocolate pudding is delightful. Your kids are going to love it. Another similar delicious dessert we have made is chocolate pie and Mississippi mud pie.
A wife, a mother to a son and a daughter, and a grandmother to three granddaughters. Flo loves sharing recipes passed down from her own mother, her mother-in-law, and her grandmother as well as new recipes created with her daughter, Tamara Ray.
More by Flo ➜