Recipe updated: April 3rd, 2024
Have you ever wanted to convert a color photo into a black and white photo without losing the quality of the photograph? This can be easily done using Adobe Photoshop.
I will give you the steps to take this below.
Step-By-Step Instructions
Step 1: Open Adobe Photoshop to Convert Photo to Black and White
These steps explain how to convert a photo into black and white using Adobe Photoshop. If you do not have Photoshop, this tutorial is not for you.
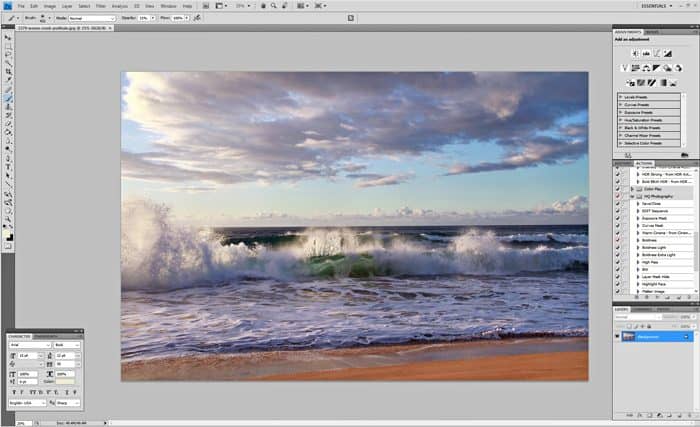
Step 2: Open the Picture you Want to Convert to Black and White
You should see your photograph in the main screen of Photoshop.
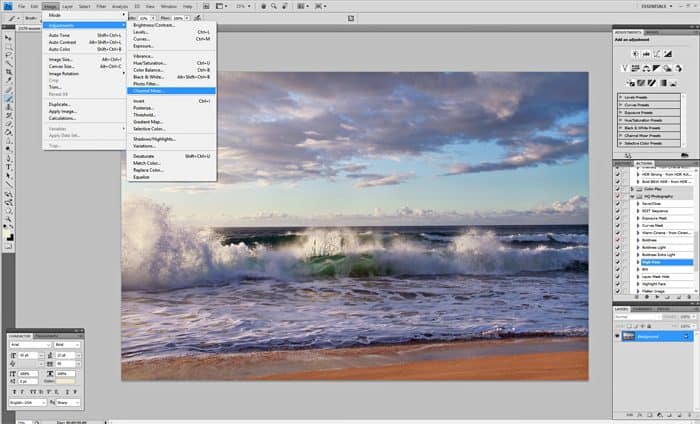
Step 3: Go to Image > Adjustments > Channel Mixer
Next, with the photo you want to change open in the program, go to the Image menu, hover over Adjustments, and then select Channel Mixer.
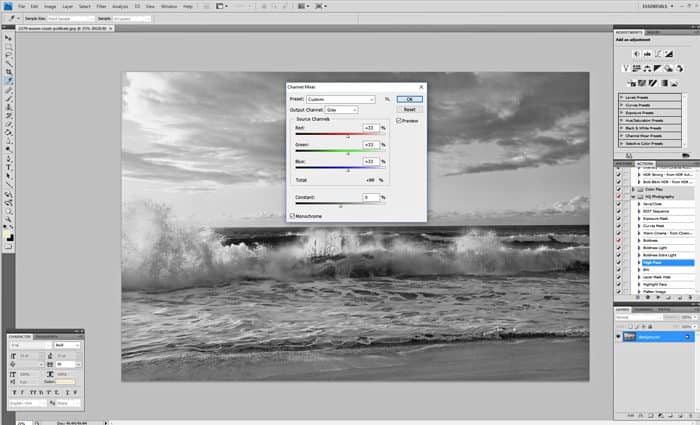
Step 4: Check the Monochrome Box and then Slide the Red, Green, and Blue Sliders so They are all at About 33%
The key is to have the sliders add up to 100% total. You can play around with the colors at different percentages, but in the end, they should total to be near 100%.
Step 5: Save the Photo!
That’s all there is to it. Click the box that says “OK” and then save your file from there.
Ex-Division I basketball player who has always loved eating food, but has not always loved cooking it. After the birth of her daughters, she now loves cooking new meals and recipes for her family to try and enjoy. She loves to stay active, work on DIY projects, spend time with family, and all things photography. More by Tammy ➜